


How to fit MTB brake pads?
In order to maintain reliable and effective braking, it is important to change your brake pads regularly. A fairly simple operation to carry out yourself.
- Time: 20 min
- Level: Intermediate
- Tools: 3, 5 and 6 mm Allen keys | Piston press | Needle-nose pliers | Torque wrench and bits | New brake pads | Braking system-specific degreaser| Cloth.
Steps
- Remove the front wheel.
- Using the piston press, push the pistons back to the bottom of the calliper.
- Remove the set of brake pads by unscrewing the bolt with a 3 mm Allen key, and removing the safety pin on the opposite side using needle-nose pliers. You can then remove the whole assembly: left pad, right pad and their spring. Probikeshop tip: A brake pad should be replaced when the lining reaches 0.5 mm in thickness or when you start to hear the spring touching the disc.
- Before proceeding with the brake pad change, take the opportunity to clean the calliper and its pistons using a specific cleaner/degreaser for this type of dirt.
- We will now install the new brake pads. Insert the spring between the two pads then push the pads to the back of the calliper. Probikeshop tip: Make sure to follow the side markings: "R" (right) for the right side and "L" (left) for the left side, present on both the pads and the spring, to ensure the safety of your installation.
- Refit the retaining bolt (tighten partially) and the safety pin that holds the pads together in the event of the bolt coming loose unexpectedly. Then proceed to final tightening of the retaining bolt to a torque of 3 Nm using a torque wrench.
- All that remains is to refit the front wheel and check braking effectiveness.
Your new brake pads are now installed. It is recommended to bed in the pads to optimise braking performance.
Découvrez tous nos conseils & Tutoriels
MTB - Brake Pads
-

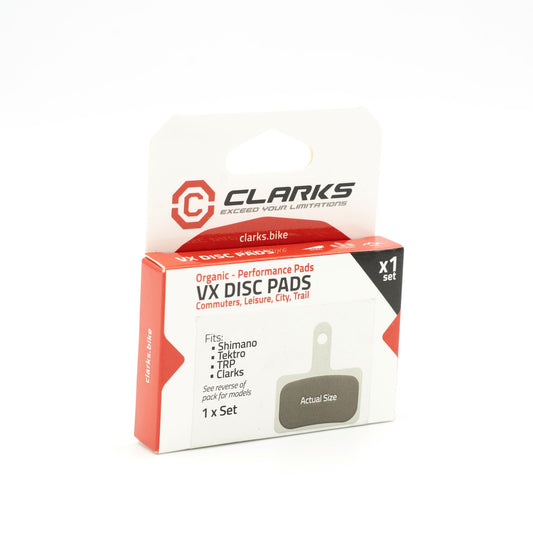
CLARKS Shimano B05S-RX B03S B01S Deore Tektro organic brake pads
Regular price 36.00 SEKRegular priceUnit price per -
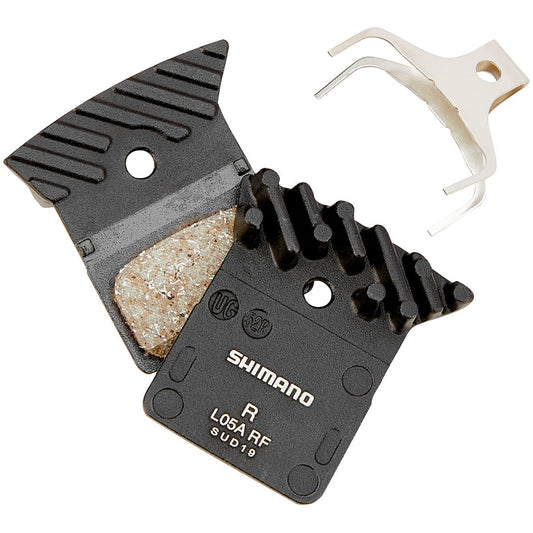
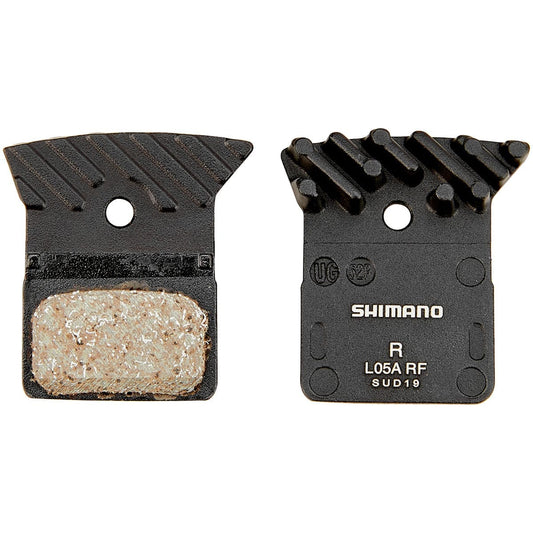
SHIMANO L05A-RF Dura-Ace/Ultegra/105/Tiagra/GRX/Metrea Organic Brake Pads
Regular price 177.00 SEKRegular priceUnit price per -
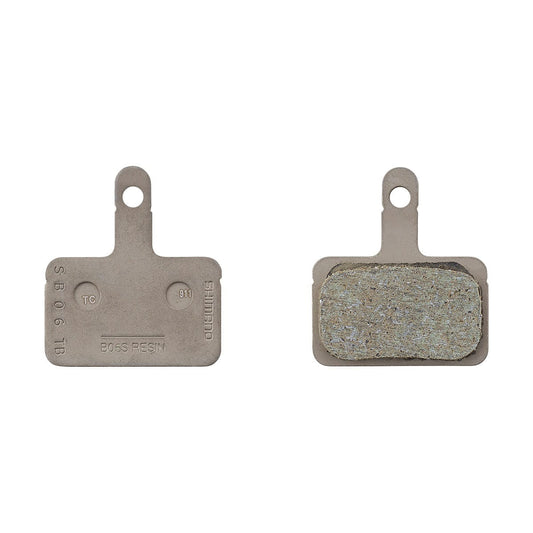
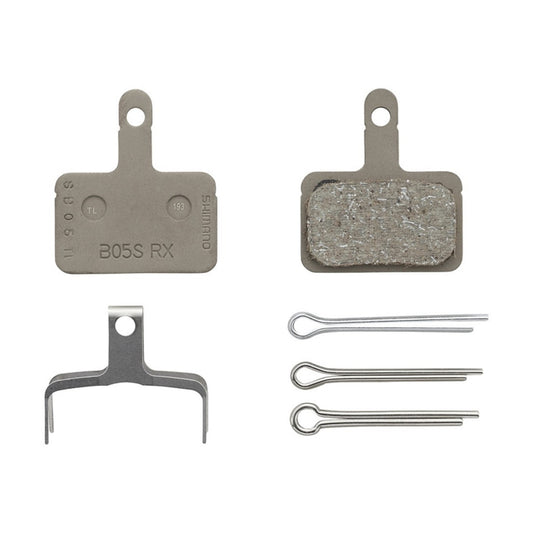
SHIMANO B05S-RX Organic Brake Pads
Regular price 71.00 SEKRegular priceUnit price per -
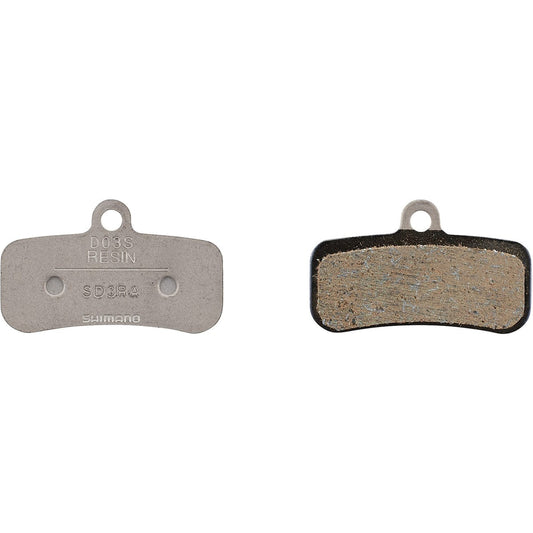
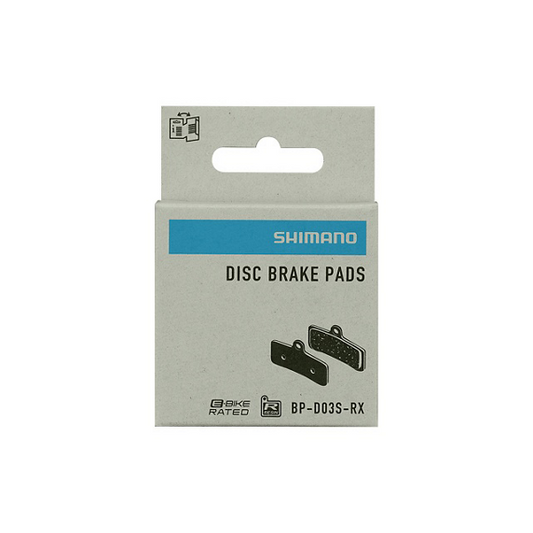
SHIMANO D03S Organic Brake Pads
Regular price 189.00 SEKRegular priceUnit price per -
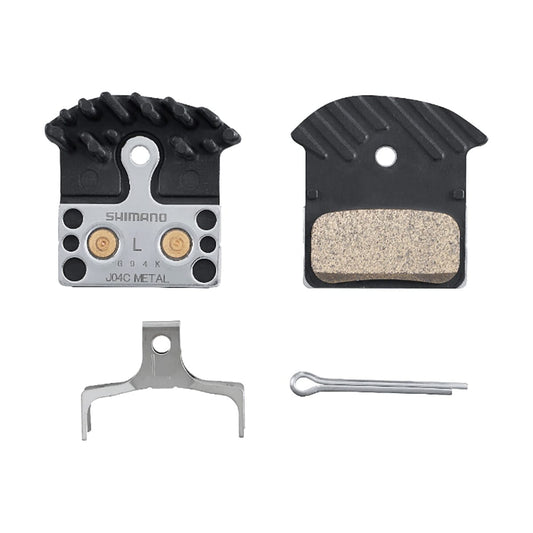
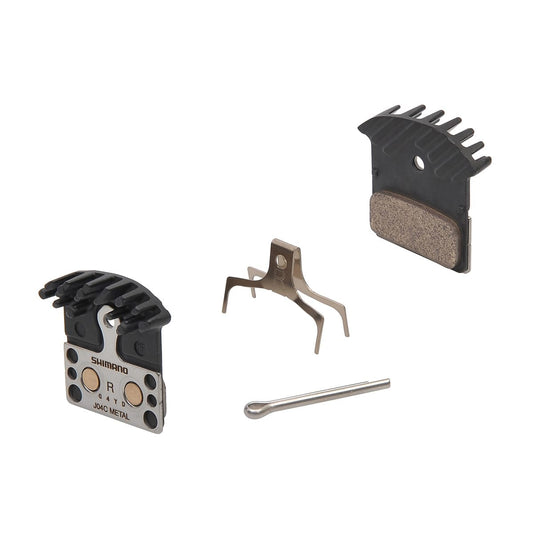
SHIMANO J04C Ice Tech XTR/XT/SLX/Deore Metal Brake Pads
Regular price 259.00 SEKRegular priceUnit price per -
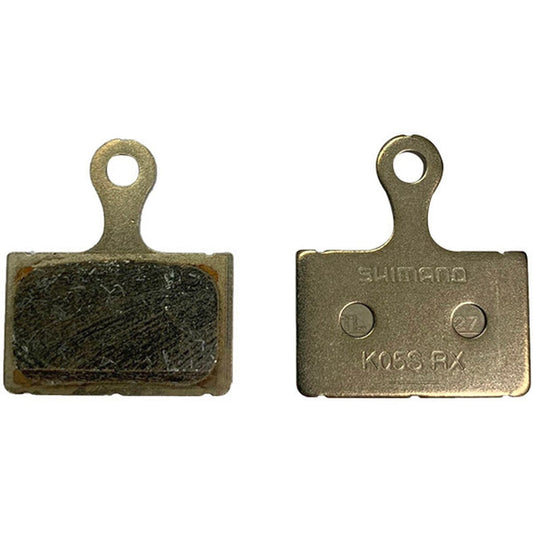
SHIMANO K05S-RX XTR/Dura Ace/Ultegra/105/Tiagra Organic Brake Pads
Regular price 95.00 SEKRegular priceUnit price per -
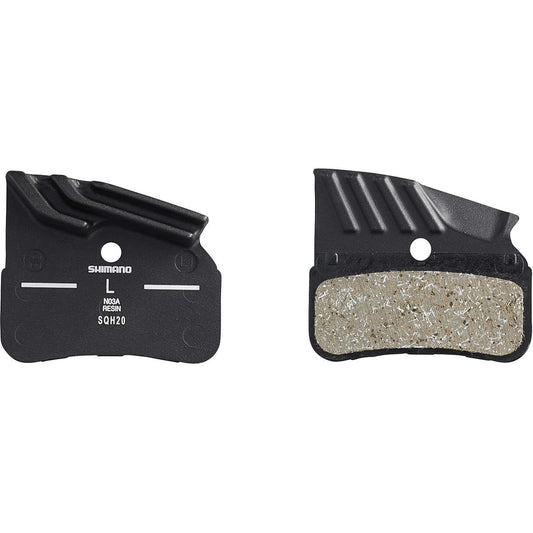
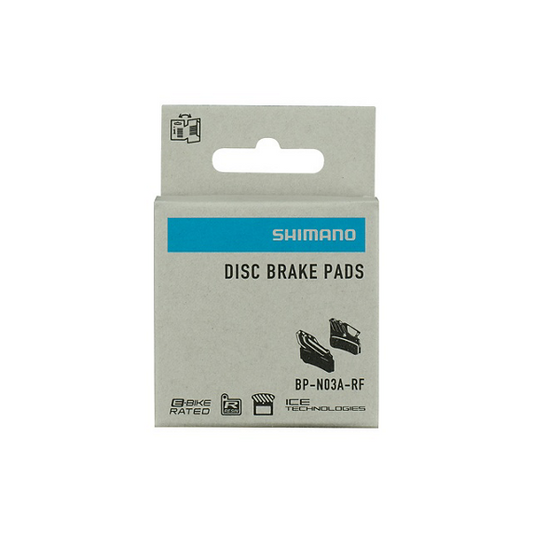
SHIMANO N03A Organic Brake Pads
Regular price 236.00 SEKRegular priceUnit price per -
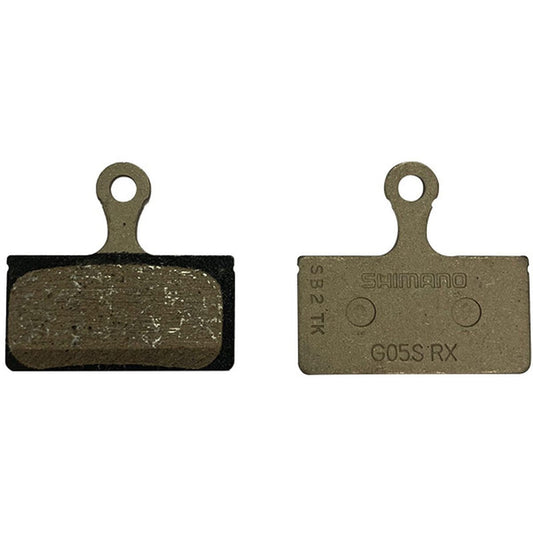
SHIMANO G05S-RX Organic Brake Pads
Regular price 118.00 SEKRegular priceUnit price per


