


How to repair inner tubes?
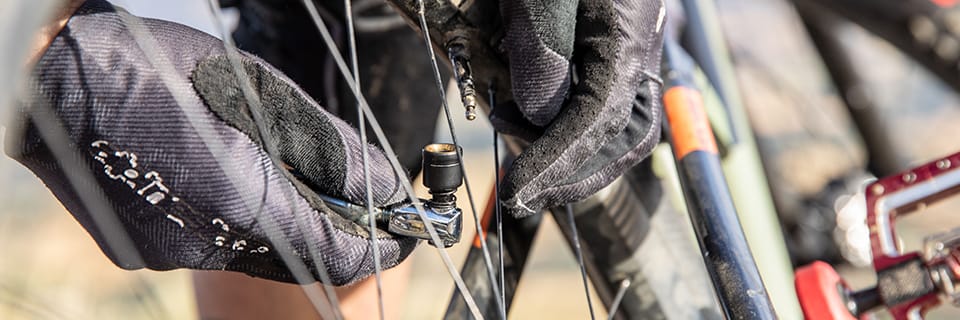
You will inevitably have to deal with a puncture sooner or later, so it is certainly one of the first things you need to learn how to fix — it will save you from having to replace the inner tube every time.
- Time: 30 min
- Level: Easy
- Tools: 2 tyre levers | Pump | A repair kit (patch, glue, sandpaper) | A container filled with water
Steps
- After deflating the inner tube, remove one side of the tyre by levering against the bead using tyre levers, starting on the side opposite the valve.
- Remove the inner tube.
Probikeshop tip: note the mounting direction to more easily locate the debris that is almost certainly still in the tyre. - Re-inflate it then submerge it in water to locate the leak.
- Dry the inner tube then, using sandpaper, roughen the area around the leak to make the tube surface rough.
- Apply glue sparingly to the inner tube over an area slightly larger than the patch, to ensure it will be fully in contact with the glue.
- Leave to rest for 5 min.
Probikeshop tip: the debris that punctured the tube is almost certainly still in the tyre, so take the opportunity to check the inside of the tyre by running your hand along it. If you noted the mounting direction of the tube, you can directly locate where the debris should be. - Apply the patch having first removed the aluminium protective backing, then press it firmly against the tube for a few minutes.
- Reassemble everything by following How to fit an inner tube.
Découvrez tous nos conseils & Tutoriels
ROAD - Inner Tubes
-
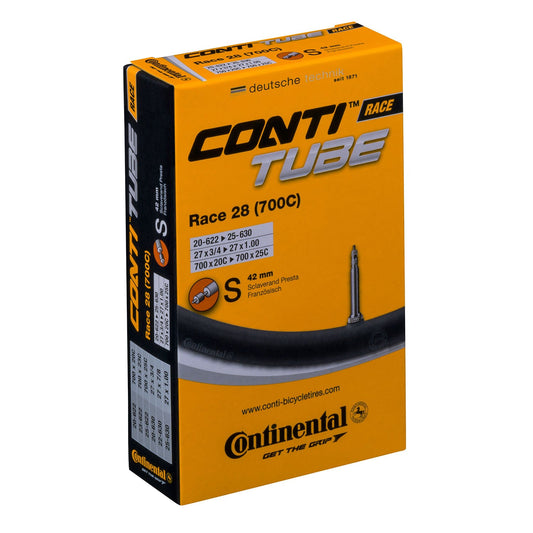
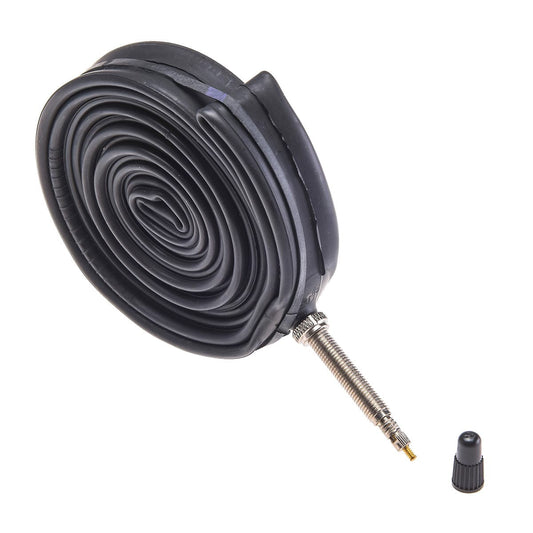
CONTINENTAL RACE 700x20/25c Presta Inner Tube
Regular price From 59.00 SEKRegular priceUnit price per -
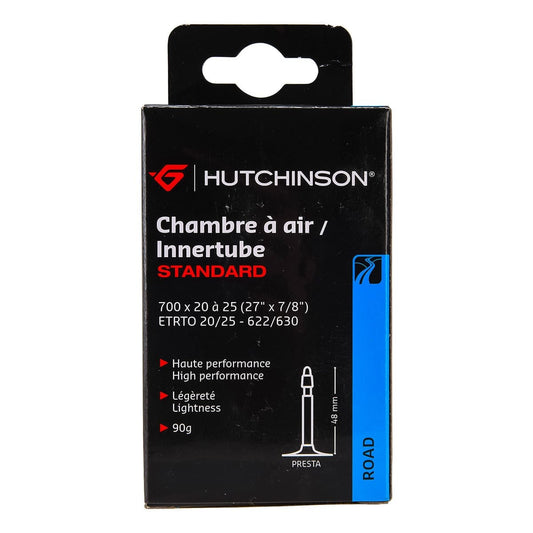
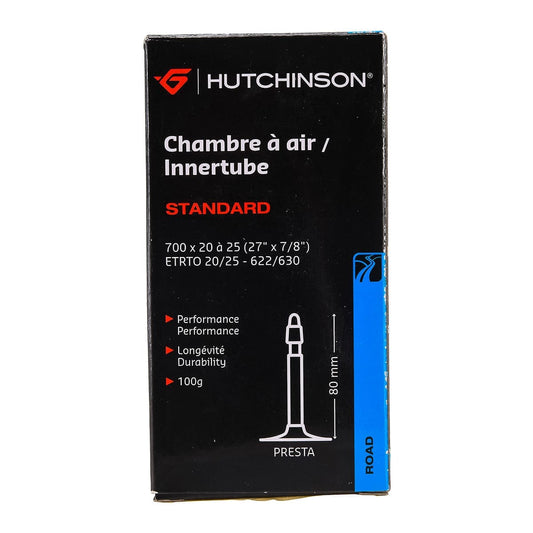
HUTCHINSON STANDARD Inner Tube 700x20/25 PRESTA
Regular price From 59.00 SEKRegular priceUnit price per -
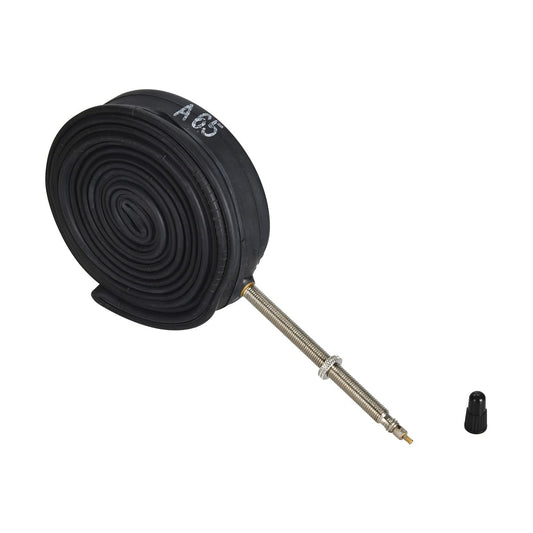
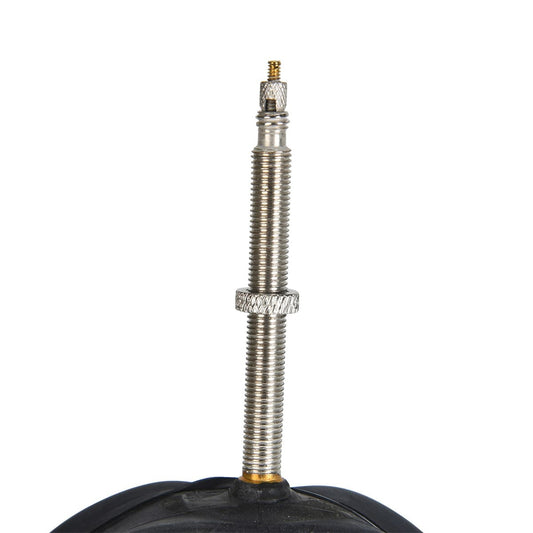
HUTCHINSON STANDARD 1 Inner Tube 700x25/30 PRESTA
Regular price From 59.00 SEKRegular priceUnit price per -
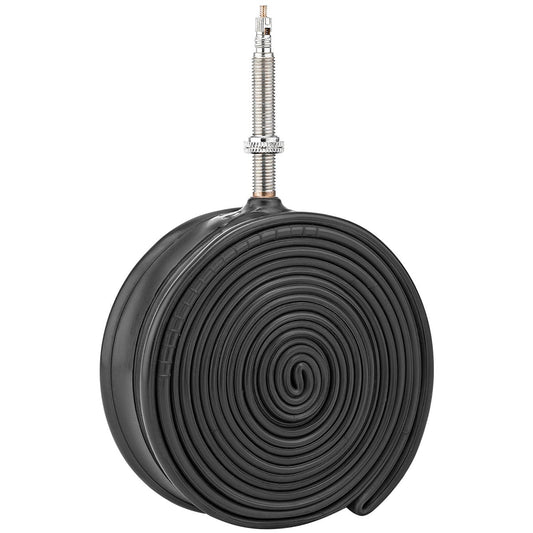
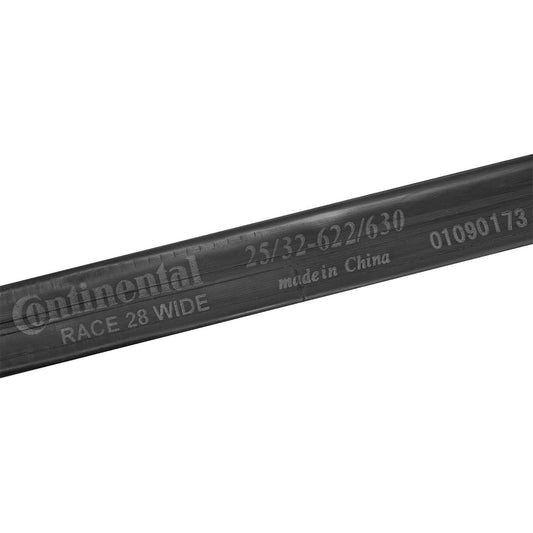
CONTINENTAL RACE 700x25/32c Presta Inner Tube
Regular price 106.00 SEKRegular priceUnit price per -
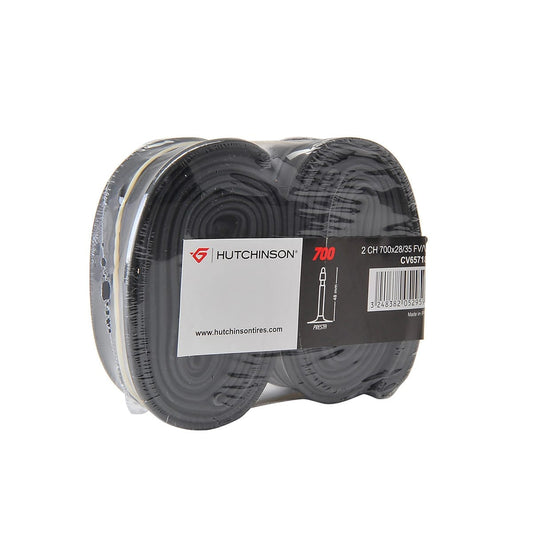
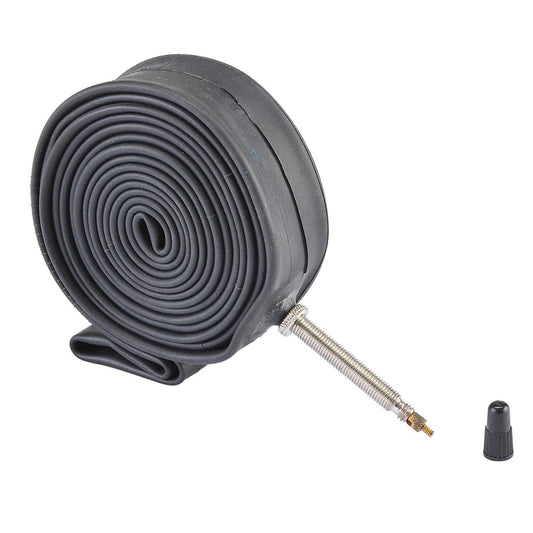
HUTCHINSON Inner Tube 700x28/35 PRESTA 48mm (Pack of 2)
Regular price 93.00 SEKRegular priceUnit price per -
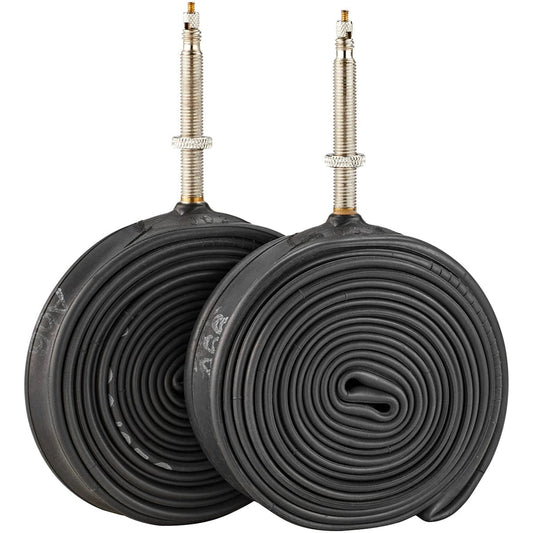
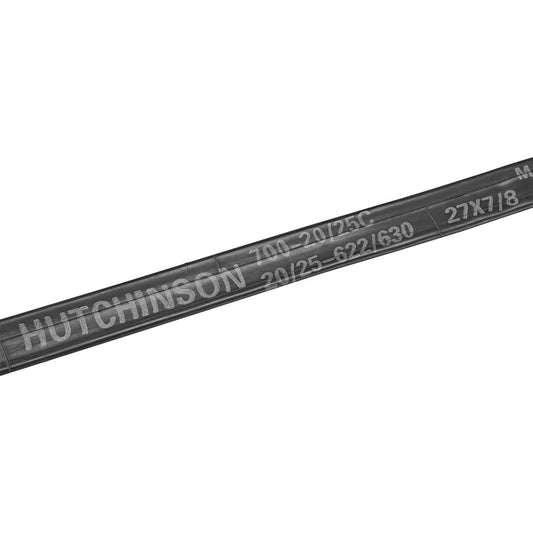
HUTCHINSON Inner Tube 700x20/25 PRESTA 48mm (Pack of 2)
Regular price 93.00 SEKRegular priceUnit price per -
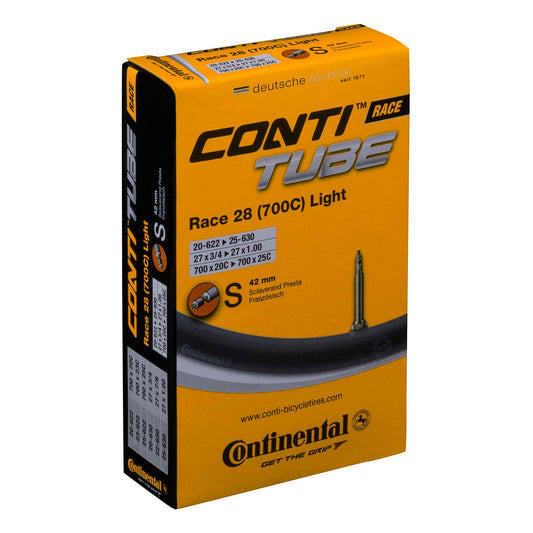
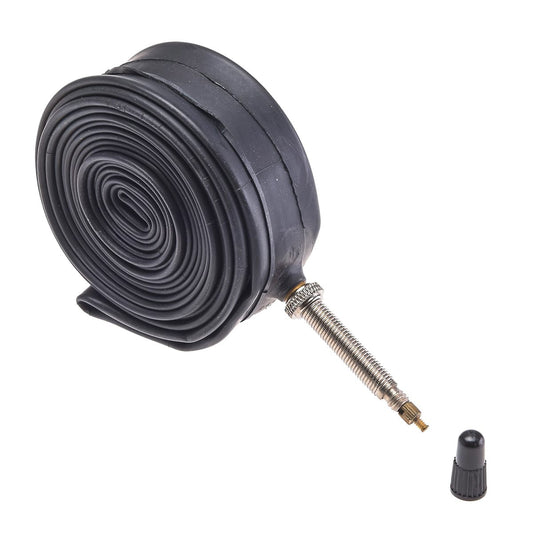
CONTINENTAL RACE LIGHT 700x20/25c Presta Inner Tube
Regular price 106.00 SEKRegular priceUnit price per -

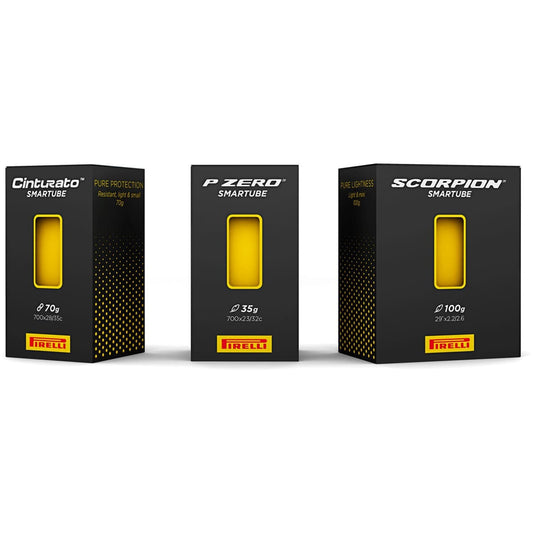
PIRELLI SMARTUBE Inner Tube 700x23/32c Presta
Regular price From 259.00 SEKRegular priceUnit price per


